Have you ever seen woodworkers in their element? Whether making a desk or carving shapes and details, a woodworker gets lost in the process of it all---bringing oneself to a world where they are alone with their tools that they use to create magic with wood.
Growing up, I have always been fascinated watching my dad work on his wood projects in our garage. He often keeps to himself but he would bring me there with him as a curious eight-year-old who would shower him with questions about wood type, their different characteristics, how the knife creates these interesting shapes on wood, how a vision turns into reality, and how long it’ll take until he’s satisfied with what he’s done.
My dad wasn’t a professional wood maker but he was an avid enthusiast. He’ll make figures for each member of the family and always give my mom his creations on special occasions. When he had the time, he would give his friends little wood carvings as a gift for their own life milestones. Our home is actually filled with different woodwork projects my dad has taken on throughout the years. I could see how happy he was when I decided to take it as a profession.

The first time I tried carving wood, I was instantly transported to my own space. I didn’t hear any sound other than the meeting of my sharp knife and the wood. I didn’t see anything other than the image in my head I was trying to create in the piece of wood that I was holding so intently. I know I make it sound so magical but the experience was really like that for me. I knew right then and there that it was my calling.
I take my profession very seriously and only work one project at a time because I want to deliver the best to my clients while also staying true to my craft as an artist. But there would be times that I couldn’t avoid taking personal and client wood projects at the same time.
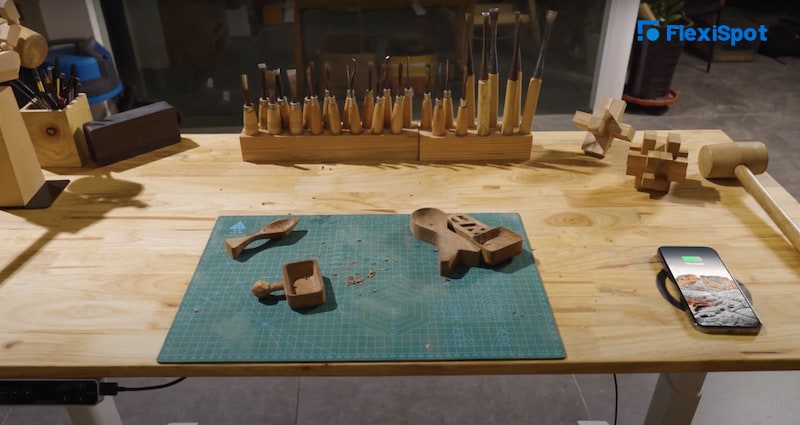
I’m not complaining because I love my job but when this happens, it would really consume my time. I would spend hours and hours on my workshop just to finish everything right on the dot. My wife won’t usually see me for hours on end while my clients try to reach me every now and then. This means that I need my phone to always be on for me to stay connected and on top of things. Most of the time, however, my tools take up a lot of space on my desk and it becomes difficult to look for a charging spot. When I don’t get to charge my phone, it brings up conflicts and misunderstandings with the people I need to contact when I’m in my zone. It has been a problem for months now so when I finally got the free time, I sat down and did some research.

I’ve been so lost in my wood headspace that I didn’t know they make products now with wireless charging pads. I was so amazed that I didn’t need my plugged-in charger anymore to charge my phone when it runs out of battery. I studied it carefully and came across a height-adjustable desk with a wireless charging feature from FlexiSpot. I knew it was worth the investment so I ordered one right away.

As a wood maker crazy about details, I wanted to know how it was done and do it myself. You might be struggling with assembly so I thought of sharing how I did it. Here’s a step-by-step instruction on how you could install a hidden wireless phone charging on your desk. Of course, I couldn’t resist adding some design steps to make your desk look even cooler than what it’ll be at the end of the process.
1. Get a tape measure and use it to measure 23.6 inches (0.6 m) wide rubberwood lumber. Cut the wood into 51 inches (1.3m) lengths using an electric circular saw.
2. With a pencil, draw the outline of the wireless charging board on the back of the table and then dig an 0.4 inch (1.1cm) deep groove with a Bakelite mill.
3. Use the carving knife (cutter) to shape the edge of the charging board groove, so that in this way, the edge will be more rounded.
4. In the same position as the groove, but now on the front side of the table, use a circle gauge to draw a circle with a diameter of 4.3 inches (11cm).
5. Afterward, use a triangular ruler to draw a lightning bolt icon of the same diameter in the middle, indicating that this area is the charging area.
6. Use the carving knife(cutter) to carve out the groove of the icon.
7. Spray black paint on the icon to add color, then leave it to dry for 2 hours.
8. When the paint dries, sand the front and back sides of the table with a sander to remove the excess black paint at the front icon.
9. Apply beeswax to both the front and back of the table. Don’t skip this step because it will protect the wood material and make it more durable.
10. Install the FlexiSpot oval legs on the back of the table. These legs have a motor that will allow the table to be easily adjusted and used for either sitting or standing.
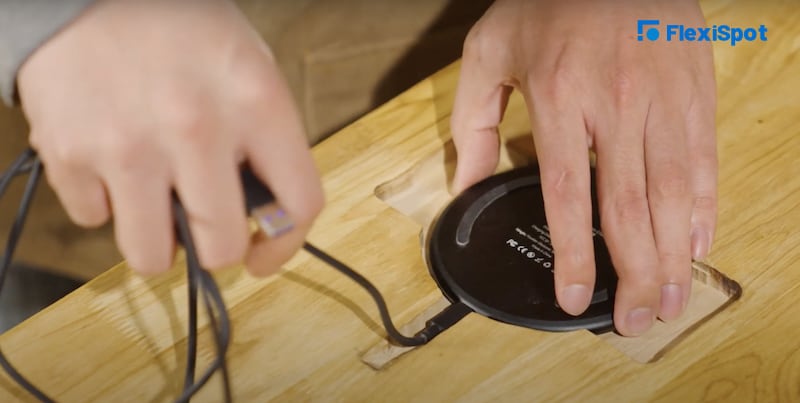
11. Place the charging board inside the space that has been dug out, and then make sure it is secured before moving on to the next step.
12. Install the devices that control the height or the raising and lowering of the table legs.
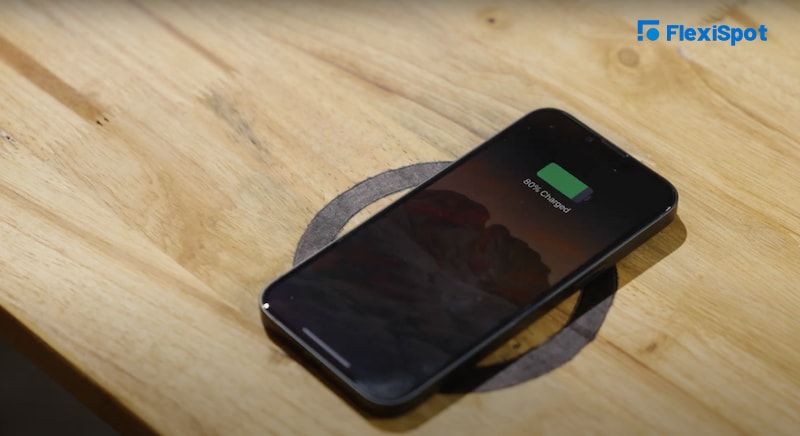
And voila, you’re done! The phone can now be charged wirelessly when placed in the charging area.
Final Thoughts
This is my experience as a woodworker with many tools in my workspace. Through my research, I realized how game-changing this is for any profession. It offers convenience, accessibility, and function that would surely help anyone stay connected while they’re in their zones. I hope the instructions are clear and if not, you can always watch the manual video here.


